Every Door Direct Mail (EDDM)
Do it yourself guide
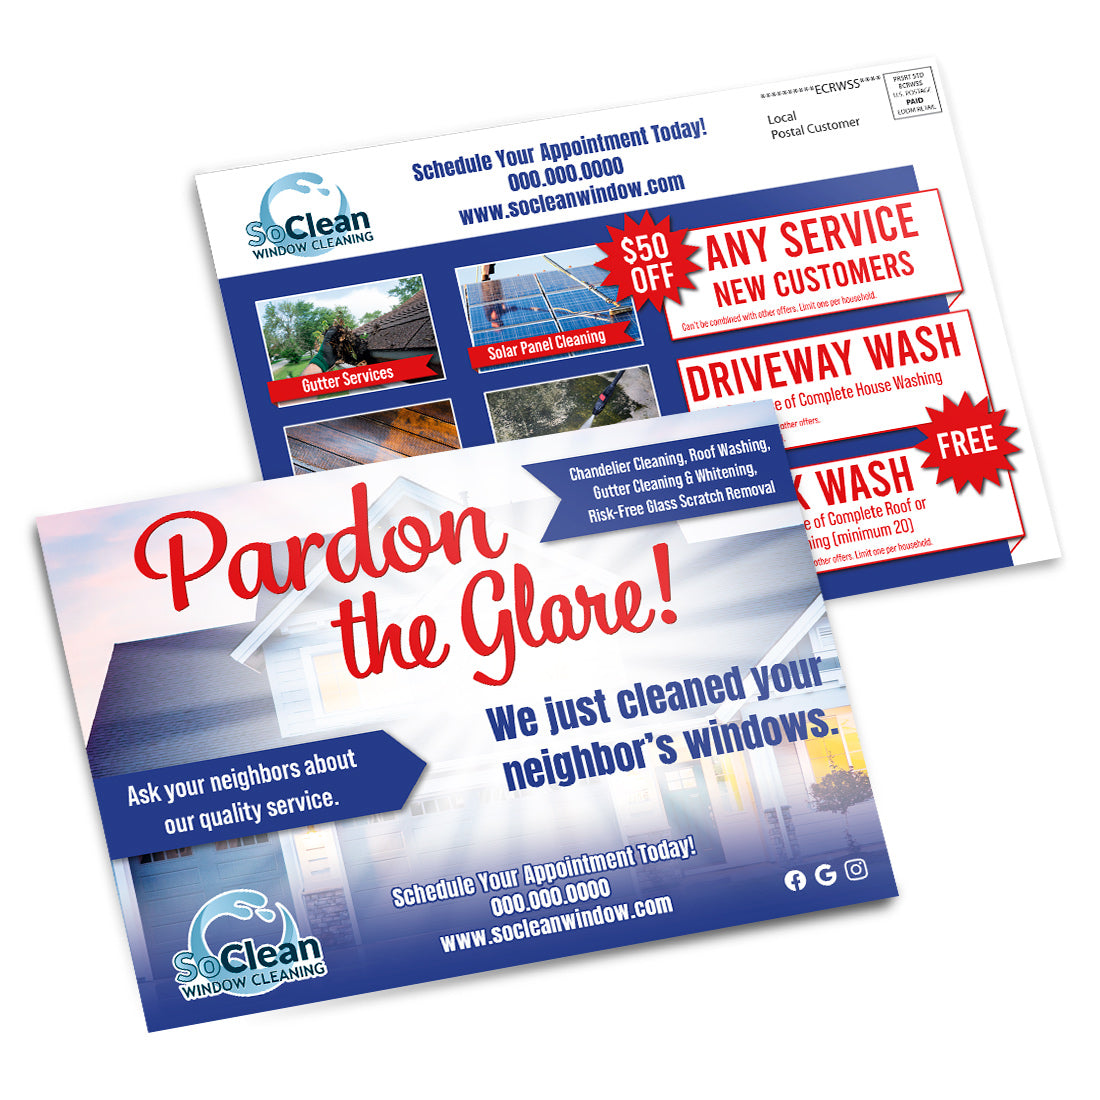
A quick step guide for Window Cleaning Professionals looking to order postcards and process their own EDDM mailings.
Now Available!
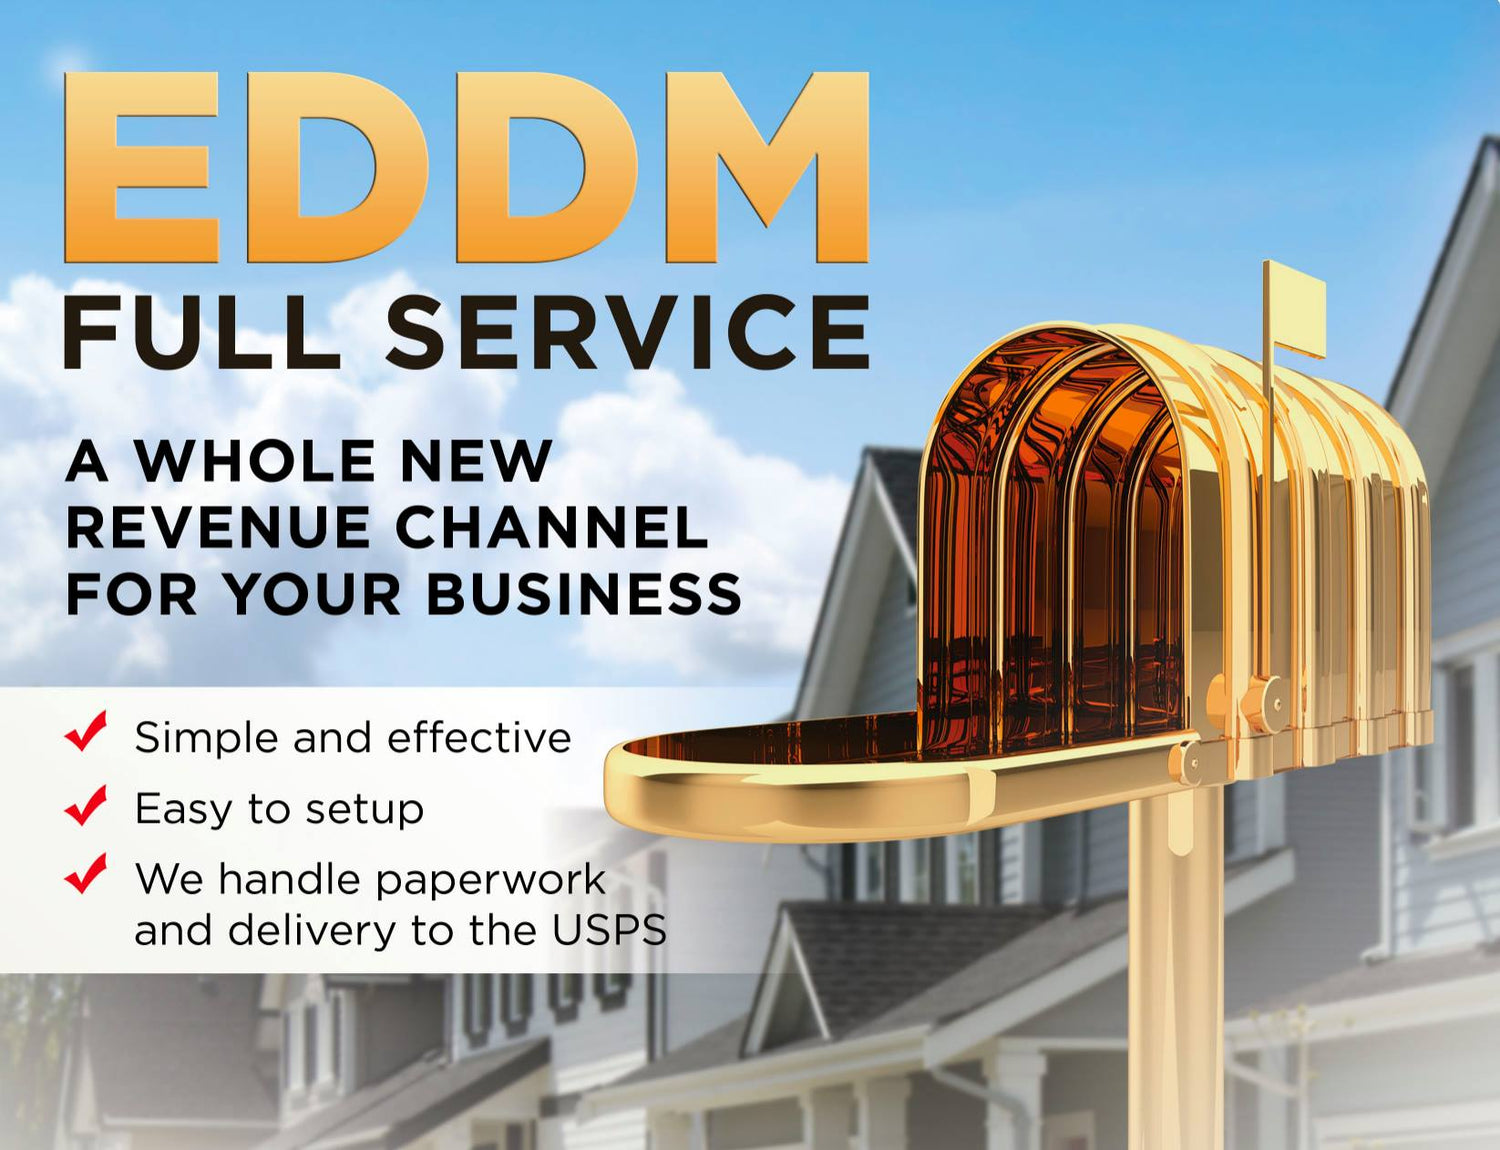
Don't feel like processing EDDM mailings yourself? Let us literally do it all for you.
Introduction
Welcome to the easy world of managing your own Every Door Direct Mail (EDDM) campaign, specially tailored for window cleaning businesses like yours! EDDM offers you the flexibility to save costs by ordering print materials like postcards in bulk, while also giving you the freedom to distribute them in smaller quantities over time.
Imagine you've got 10,000 eye-catching postcards promoting your window cleaning services. Buying in bulk cuts down printing costs significantly, and with EDDM Retail, you're not pressured to mail them all at once. You can plan a phased approach, sending a few thousand each week. This is especially effective in building recognition for your business – hitting the same homes every 2-3 weeks is a proven strategy. If you're not changing the design, consider ordering enough for three rounds to maximize savings on printing.
With EDDM, you have two choices: either we handle the printing and mailing for you in one go, or you take charge, order EDDM eligible prints, and manage the mailing process yourself. If you’re leaning towards the latter, this guide is your perfect companion. Let’s dive into how you can effectively roll out your window cleaning campaign with EDDM.
Step 1: Crafting an EDDM-Eligible Postcard:
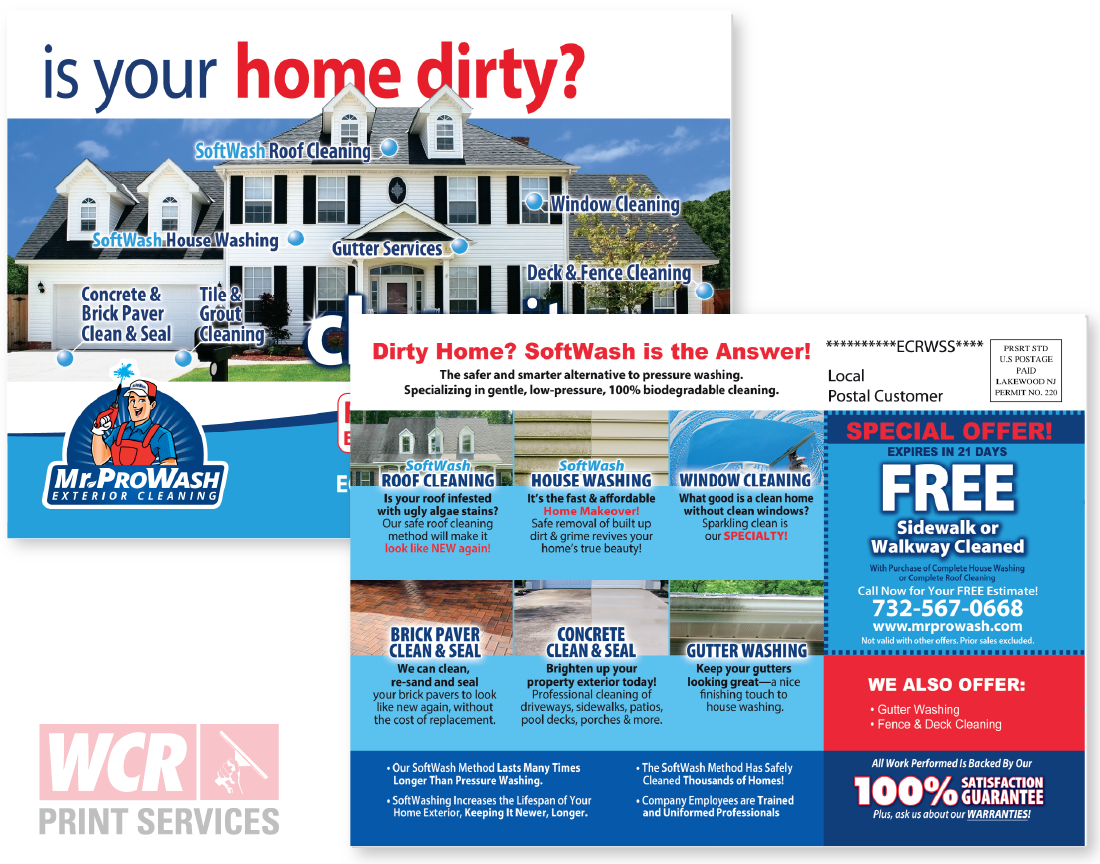
Create a postcard that meets USPS "Flat" size requirements. Ideal sizes include 6.5 x 9, 8.5 x 11, and 9 x 12 inches. We typically recommend going with a nice full sized 8.5" x 11" piece. It's large enough to stand out in the mailbox without breaking the bank.
Need a design?
-
Browse Online Editable Templates
See Templates -
Explore 120+ Downloadable EDDM Templates
Explore Templates -
Have a great idea you want us to create for you?
Request a Design
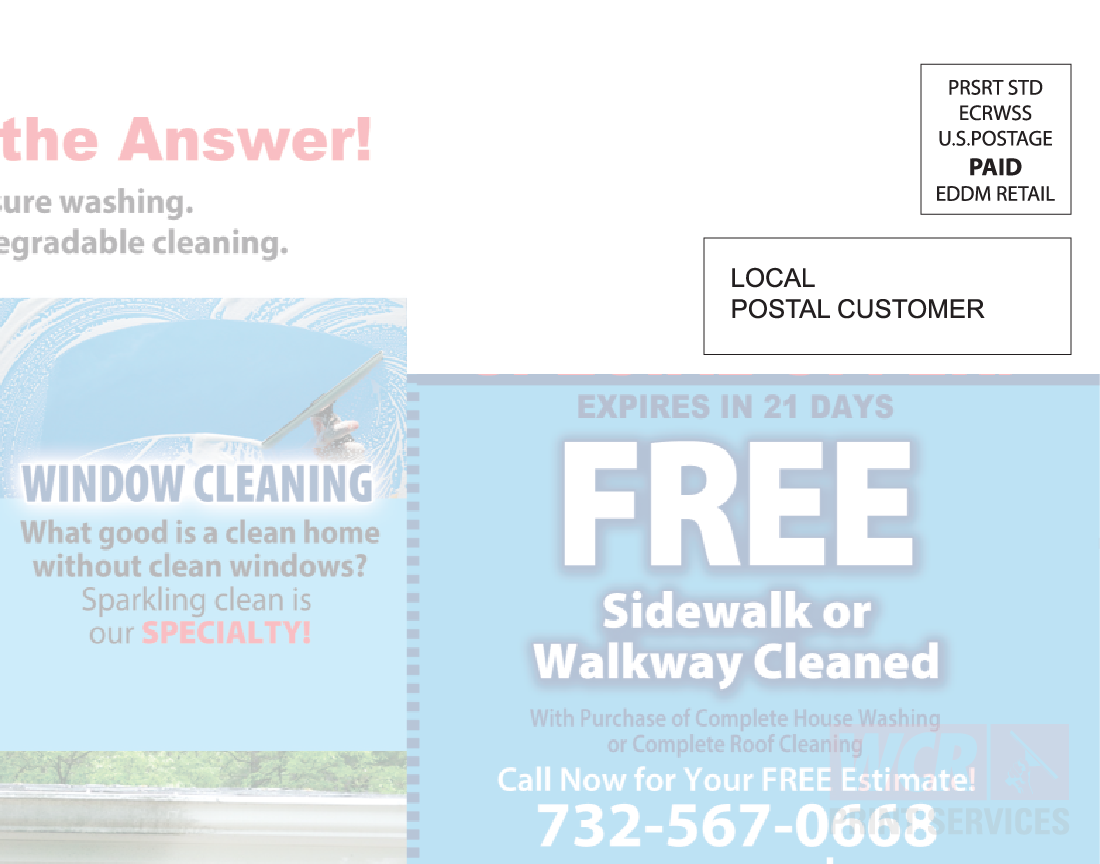
Step 2: EDDM Indicia Details
Your piece must have the proper EDDM Retail Indicia on the top or bottom right of your piece. A white background is best for visibility. You can download the indicia below. At minimum, the indicia block should be 1.7" wide x 1.3" high.
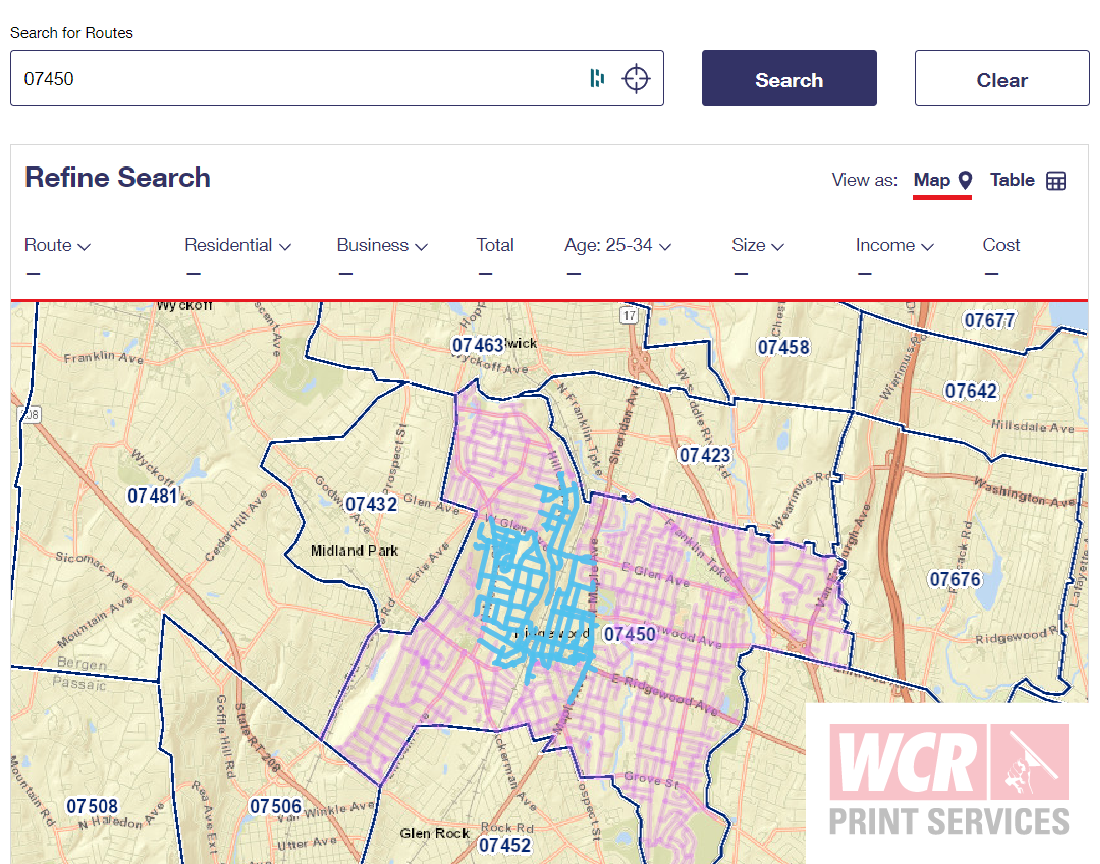
Step 3: Choosing Carrier Routes
Use the USPS EDDM route tool to select specific routes. You may filter by demographics to target your ideal window cleaning clients. You must choose between residential only or both residential and business stops. There is no option for targetting only businesses via EDDM.
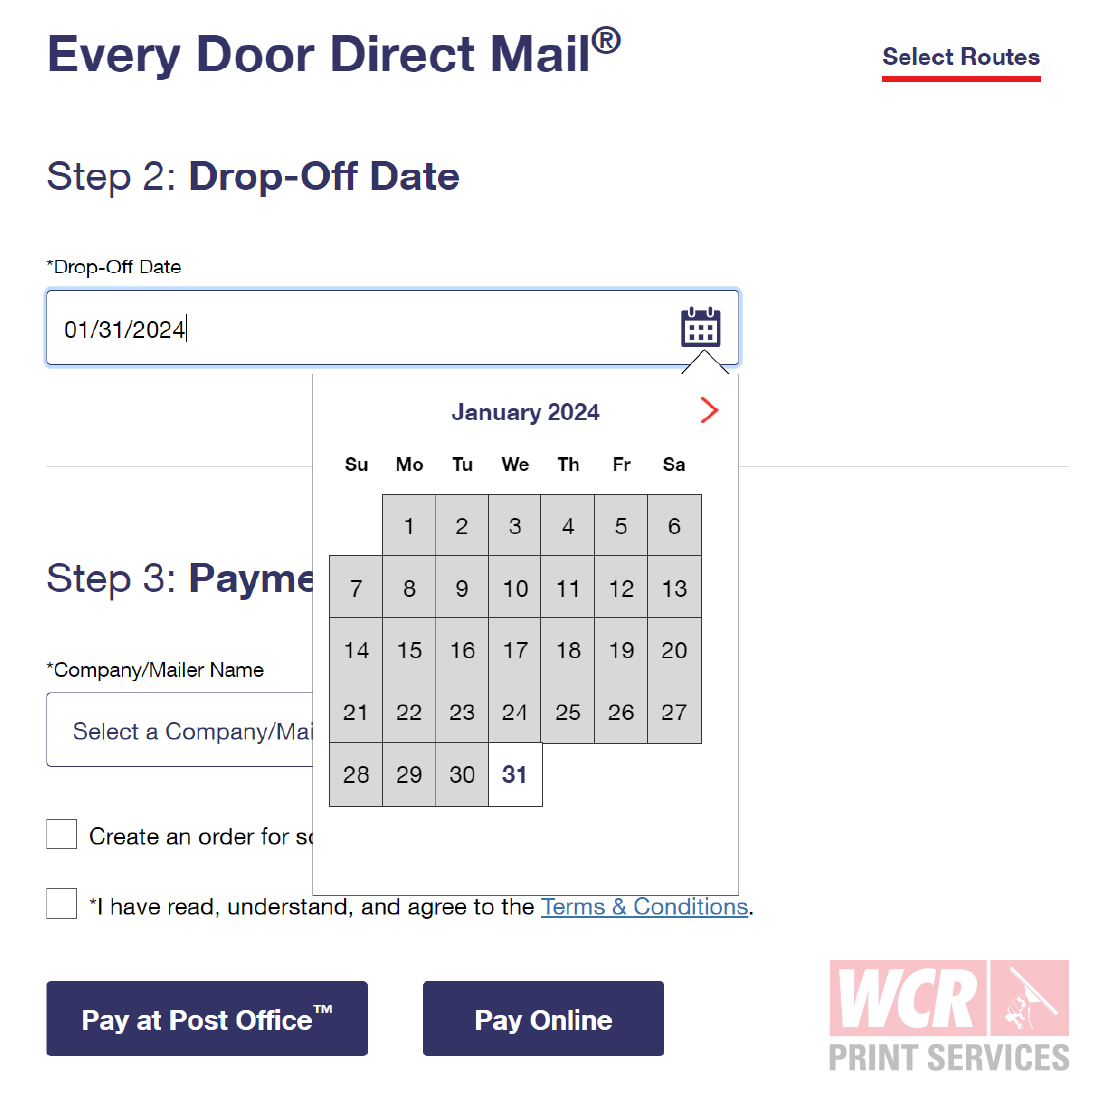
Step 4: Picking a Drop-Off Date
Select a USPS drop-off date, keeping in mind that standard mail delivery ranges from 1-14 days. Plan your campaign dates accordingly, especially if your postcard includes time-sensitive offers. EDDM does not have a "First Class" option and the USPS reserves the right to take the full 14 days for delivery.
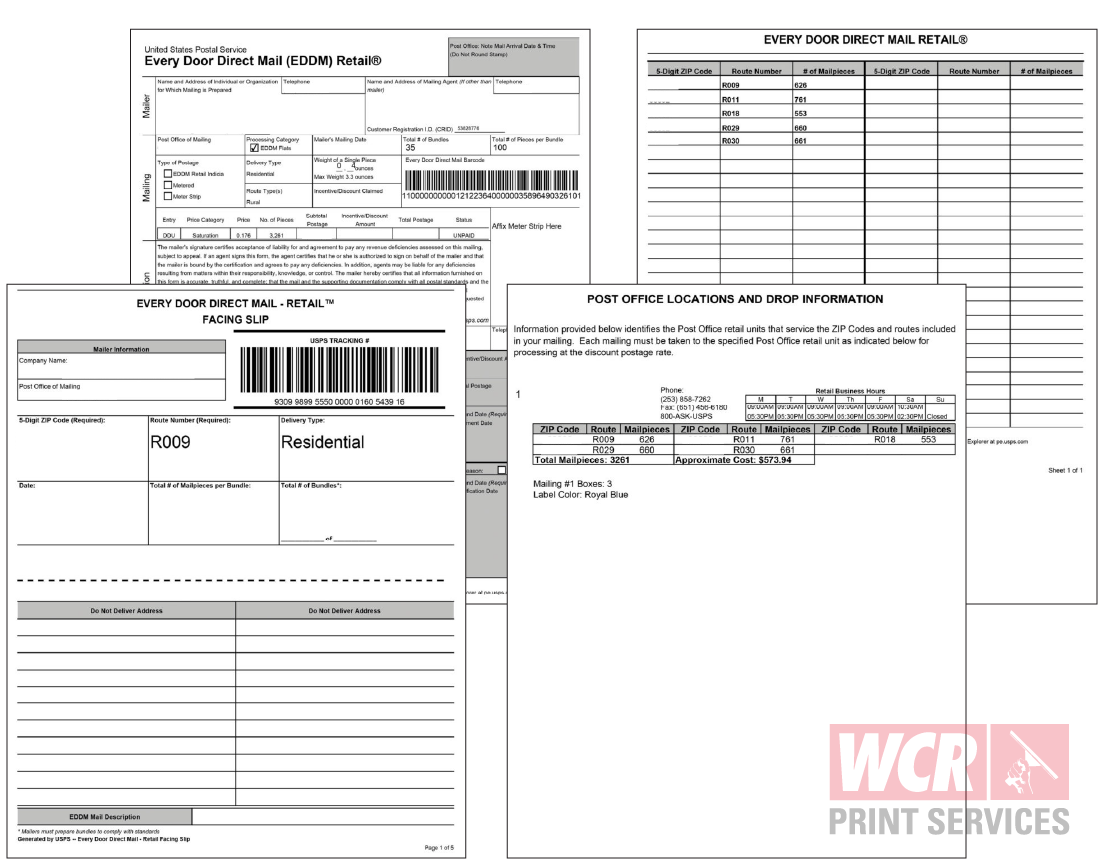
Step 5: Printing Required USPS Paperwork
After setting your drop-off date, print the necessary forms from the "Thank you" page. This includes:
- Facing Slips: One per carrier route, indicating the route and number of pieces.
- Mailing Statement: A summary of your mailing including costs and total pieces. You'll need to sign this.
- Post Office Locations and Drop Information: Crucial for knowing where to drop your mail if you’re targeting multiple zip codes or areas.
Your forms should be completely filled out with the exception of some fields on the facing slips.
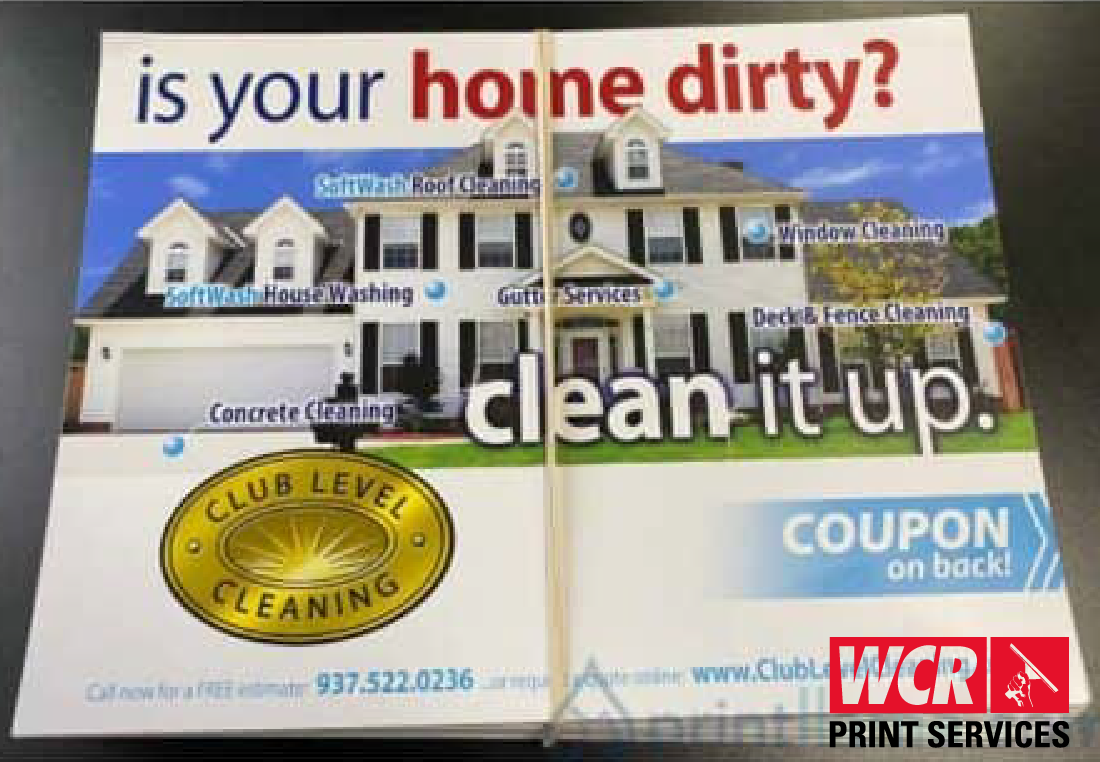
Step 6: Bundling Your Mailpieces
Organize your postcards into stacks of 100 and either hold them together with rubber bands or belly bands. You can do this manually or opt for our low cost bundling service (if we print the job for you.) The USPS requires all EDDM jobs to be bundled.
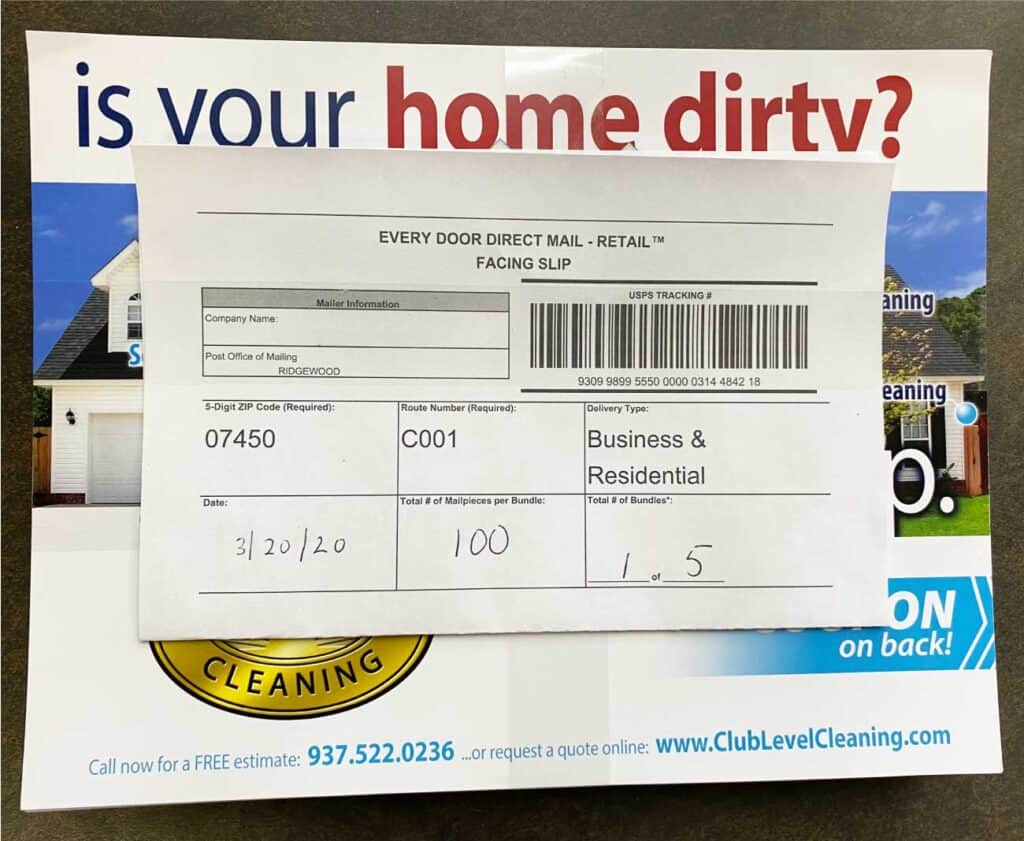
Step 7: Filling Out Facing Slips and Forms
Organize your postcards into stacks of 100 and either hold them together with rubber bands or belly bands. You can do this manually or opt for our low cost bundling service (if we print the job for you.) The USPS requires all EDDM jobs to be bundled. Each bundle needs a facing slip, showing the carrier route and number of pieces in each bundle. This helps the USPS process and deliver your mail accurately. You will need to make copies of the facing slips so that you have a slip for each and every bundle. For example, a route of 550 homes would require 6 bundles (5 bundles of 100 pieces and 1 bundle of 50 pieces). Each of those bundles would require it's own facing slip.
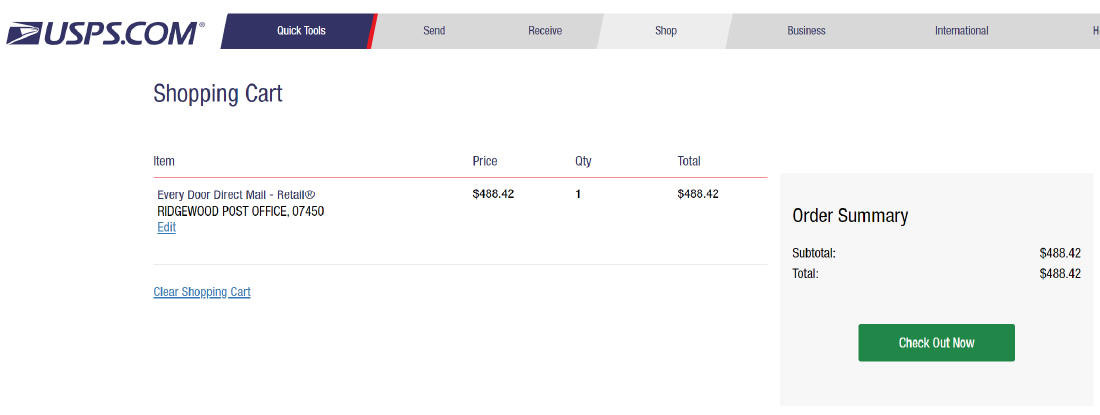
Step 8: Handling Postage
The USPS gives you the option of paying online or paying when you drop off your pieces. Online payment can streamline the process. Nobody wants to spend more time at the post office counter than they have to.
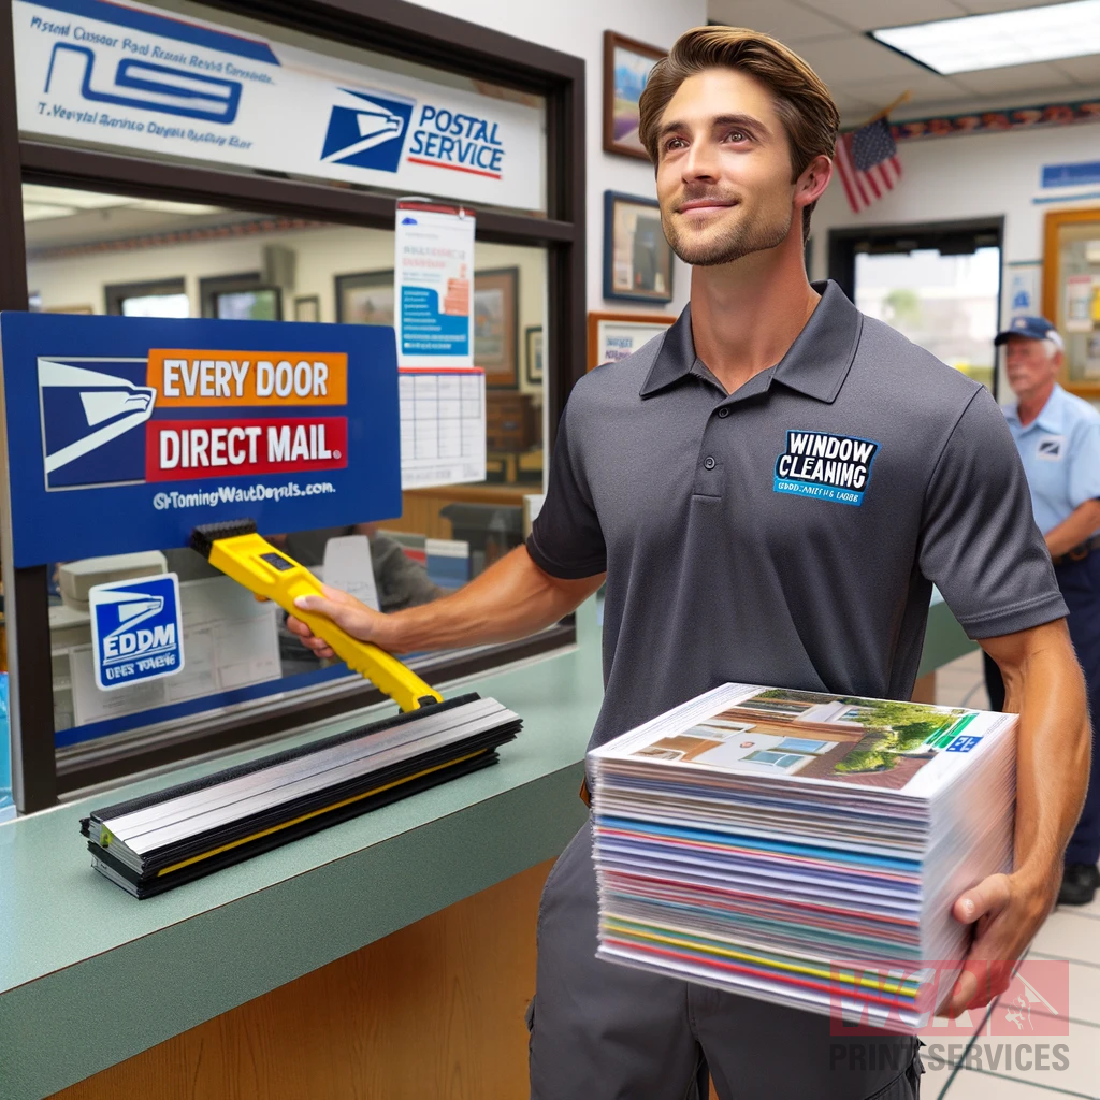
Step 9: The Final Step - Dropping Off
Take your prepared bundles to the designated post offices. If your campaign covers multiple routes across different zip codes, check the "Post Office Locations and Drop Information" for guidance. The pieces MUST be dropped off to the specific post office for the carrier routes you are targeting.
Need a Helping Hand?
If you require a more in-depth walkthrough, design assistance, a template or specific indicia, we're here to help.
